Sunday, November 25, 2012

Tiny house interior mock-up

One of the reasons I built my SS shed was to get a feel for the amount of space inside when used as a tiny house. Today I made a mock-up of the inside using various pieces of furniture and scrap wood. All in all, I was surprised with the amount of room inside. I think this would be liveable for one person. (My SS is 8' x 14', and I reduced the wall height by 1' from the plans.)

To the right of the entry door is room for 2 chairs and a small table. A drop down table attached to the wall would make better use of the space.


At the rear on the same side, I put a 6' x 2.5' table to represent the kitchen area, complete with sink and range. There appears to be enough counter space to make meals. The plywood wall on the right side represents the bathroom wall.


To the left of the entry door, there is room for a couch. This is just a cushion from a piece of patio furniture. The plywood it is resting on is 8' long. If this were an actual tiny house, I would move the door to the long wall, about were the table and chairs are in the previous picture. I would put a big window where the door currently is, and put a pull out couch for sleeping against that 8' wall. That way if the couch was pulled out for someone sleeping, the door on the side would not be blocked for egress.


Between the couch and the bathroom wall I placed a cooler for visualization. I would use this space for a closet or storage area. It could also be part of the bathroom area, as a shower. For a tiny house, I would build a top loading, super insulated cooler into the kitchen cabinets. The top of the cooler would form part of the counter top.


I tacked up a couple of pieces of scrap plywood to represent the bathroom wall. The bathroom area is about 3' x 3'. If a shower is needed, the room could be designed as a wet bath.


 Another view of the 'kitchen' from the bathroom area.

 
I also made a video of what the inside of my SS looks like.


In the future I plan to rig up some 12V LED lights, connected to my deep cycle marine battery. I will update this blog when that happens. I also want to purchase a solar panel and hook it up to charge my marine battery, as an experiment and learning experience. 
I may also purchase a little Dickinson Newport wood stove to experiment with heating my shed.

Friday, November 23, 2012

Outlet box, caulking and loft

I've been busy with life and haven't had the chance to post for awhile. The following occurred over the past few weeks. Now that the weather is getting colder, I didn't want to have to keep the door open to get the power cord into the shed. I found this neat weatherproof box at HD and installed it on the front of the shed. I am using a power strip on the inside with multiple outlets and store the male plug inside the box. I still need to close up that hole to reduce drafts.


My wife has started decorating! She has already added a star to the front door and had me install a flag pole holder over the door. She has a flag for every season. Eventually I'll have to do a collage of all the flags hanging from the shed.


 I continue to look for light when I am inside the shed, to find areas that need to be caulked. There are a number of small gaps where the roof panels meet the top plates on the sides and on the ends. These are areas where the 2x4 ends of the roof panels rest against the 2x6 top plates. I have been caulking from the outside surface to stop potential leaks and drafts.

Up until now, my loft consisted of two pieces of 8' long plywood, one 4' wide and the other 2' wide. This is a picture of what it looked like from sitting in a a chair next to the door. Since this structure will be used as a shed and not as a tiny house, this loft is too deep for easily storing and retrieving items.


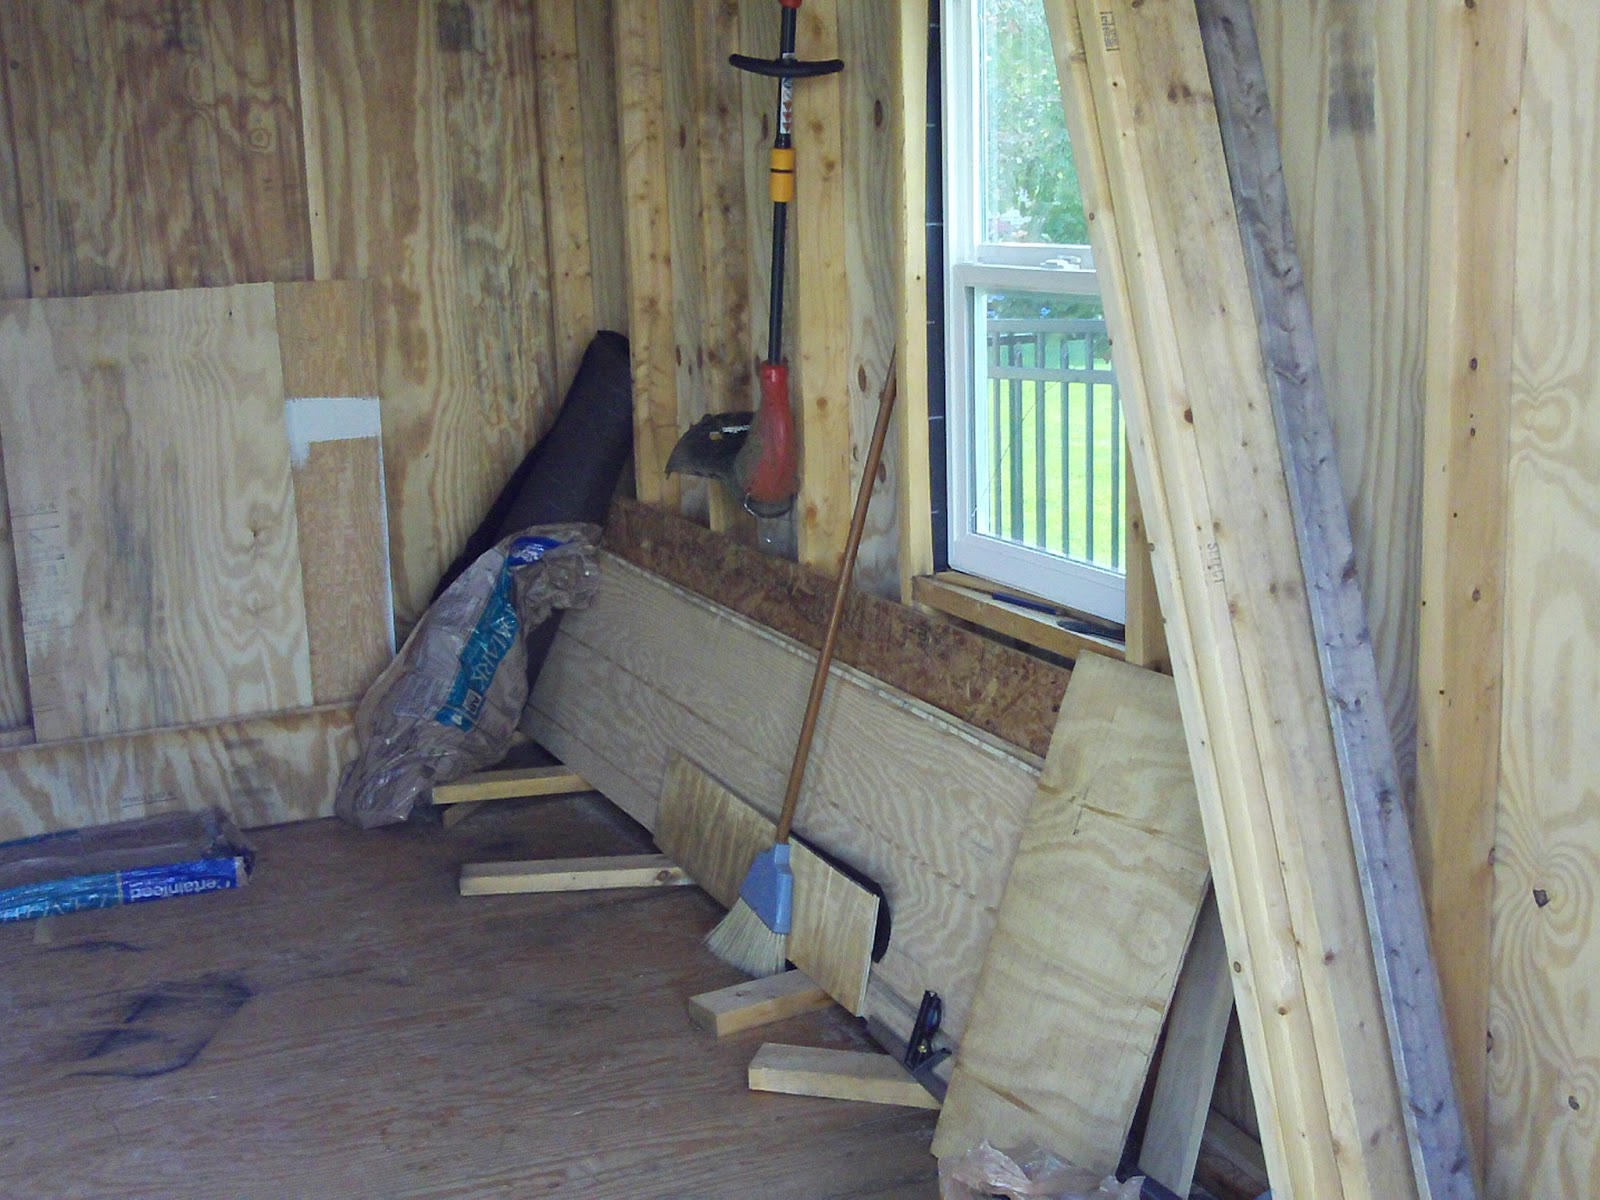
So I cut the 8 foot lengths, so they would fit sideways in the shed. The 4' wide piece is now up against the rear wall as shown in the next picture, and the 2' wide piece will be in the middle of the shed, so I can have access to it from either side. (Please disregard the weed whacker hanging on the wall.)


The following picture was taken sitting in a chair under the rear loft and looking up at the roof. It gives an idea of the high ceilings that are possible with the SS design for a tiny house. (Disregard as well that horizontal 2x4. That will be one of the supports for my middle loft. I didn't feel like removing it just for this picture.)


Sunday, October 21, 2012

Exterior painting and ideas for pre-fab tiny house

Sorry, no pictures this week. I spent today applying the finish coat of exterior paint. I now have finished painting half of the exterior. I was delayed by a day, due to the heavy rains we had on Friday night. The good news is that the inside of my shed was bone dry after the rains. It looks like I did a good job on the roof!

I also bought a water tight exterior box to get power into my shed. The box will house a male plug; the wire will run through the wall to an outlet inside. I can then run an extension cord to the outside of my shed without having to leave the door ajar and let in the cold or rain. 

I've been thinking of what it would take and how to go about building a prefab Sonoma Shanty. The idea would be to build the walls and roof in sections at home in my garage and then move them to the job site in a U-Haul truck. The walls and roof panels could be built on the floor inside a sheltered area, squared and exterior sheathing applied. A few inches of sheathing would extend beyond the edge, on one side of the panel to overlap the next panel. Windows would also be installed in the walls as they are being sheathed on the garage floor. I would have to figure out how wide and tall to make the walls, and still have them fit inside a rental truck, as well as being light enough for 2 men to carry. Having built the roof panels already for my SS shed, I know they are light enough in weight. The plan would be to install the footings, foundation beams and build the platform on site ahead of time. The platform would be insulated and covered with a tarp until the walls arrive. Then the rental truck would carry the walls and roof panels to the site. 2 men should be able to assemble the walls and roof panels over a 3 day weekend. Timber lock screws and battery powered drills would make quick work of assembling the walls and roof. The  building would be wrapped in tar paper until the roofing and exterior siding could be applied. The walls and roof could be insulated and the interior finish applied as time permits on site.This structure could be used as a tiny house itself or as a storage shed for a tiny house or during the construction of a larger cabin.

Tuesday, October 16, 2012

Outside primed and broken window

Last Saturday, I nailed up the rest of the corner trim and finished priming the outside of my shed. It is starting to look more like a tiny house instead of a weathered shack!


When I went inside my shed Saturday morning, I was greeted with a cracked window. The crack was on the inside pane of glass; the outside pane was intact. The sash moves freely so it wasn't any settling that caused the crack. We had our first frost the night before, but the temperature inside the shed should not have gotten that low. I was bummed out. I'll have to contact Lowes about their warranty on windows. The sash is removable which is a good thing; I don't want to have to rip out the whole window.


With the trim on, I'm done with my table saw so I moved it back into the garage to free up space in the shed. Here is an interior view from the front door.


...and from the back wall.


For the next few weekends, whenever the weather is good, I will be painting the exterior with the finish coat of paint. After that I want to reposition my big loft into two smaller ones, one over the back wall and one across the middle of the shed, for easier access to the space. With the high roof, there is a lot of storage space up there!

Sunday, October 7, 2012

Corner trim


Not a lot of activity to report this week, either. We have had a lot of rain and I was busy yesterday with my fall garden. I started applying the 1 x 4 pine trim on the exterior corners. First I put overlapping layers of tar paper on the corner, in case water gets behind the trim.


Then I cut the trim to match the 45 degree slope of the roof and nailed it over the tar paper. This should make for a moisture proof joint.


I also put some tar paper and a strip of siding under the door. There are a couple of drain holes on each side of the door and without siding there, the rain would splash up under the door. This should take care of that problem. Now I just need some dry weather next weekend, so I can finish applying the primer coat to my SS shed.


The weather is getting cooler now, so I have been keeping the door closed when working inside my shed. I have a lamp inside with a 75 watt bulb. It is amazing how much just that lamp warms up the inside of my shed.

In other news, Macy Miller has put together an extensive list of questions for tiny house builders and is publishing the results as FAQs on her site. There is a wealth of information there. I have linked to her Tiny Housers FAQ page at the top right of this blog.

Friday, September 28, 2012

My current thoughts on the ideal tiny house for me

No work is scheduled on my Sonoma Shanty this weekend due to my college reunion! Instead I've been thinking about my ideal tiny house.

I've been looking at various tiny house web sites for the past 6 months and forming ideas for my future tiny house. I am also drawing on what I have learned from building my Sonoma Shanty shed. This is my current thinking. I'm sure it will change over time, so I will update my thoughts from time to time.

Layout:
Size: 8' x 20' with door on long side of house. This is the smallest that I think would work for my family on vacations. I could probably survive in a 8' x 14' but I need to think of others too, especially if I don't want to vacation alone!
Have detached small deck on side, with it's own small roof. Using floor space on the trailer for a deck, seems like a waste of potential interior space to me.
Bathroom and shower will be along the width of back 8' wall.
Full size pull-out sleeping mattress on opposite (front) 8' wall on main floor that sleeps 2; turns into couch in daytime. Entry door next to couch, it it's sleeping configuration
Sleeping loft with additional large mattress over bathroom, kitchen area
Small storage loft over couch
Small floor to ceiling closet(s) against bathroom wall
Compost bucket toilet
Fiberglass stall shower using hand pump sprayer for water; install piping and shower head in accessible wall for future use. Heat water for shower on stove.
Kitchen sink and shower drains on same side
Detachable gray water holding tank under trailer

Kitchen:
Ice box with heavy insulation. Put ice blocks at bottom. Top of ice box flush with kitchen counters. Ice should last for up to 3 days. Install drain line at bottom of ice chest.
2 burner propane stove
Dickinson propane boat heater (later - won't need in summer or early fall)
Install gas piping for both stove and heater during build

Exterior:
Roofing: metal or Ondura corrugated fiber roofing
Exterior siding: wood clapboards, board and batten, or vinyl
Interior walls: hardboard nailed to studs, with painted white panels glued over it; ceiling: same hardboard underneath with wood grain paneling over. Other option would be beadboard on walls. This should reduce labor, building time and weight.
Rigid Styrofoam insulation (3") in floor, walls and ceiling
Windows oriented so they can be covered with plywood shutters and padlocked when house is unattended. Large windows on side wall opposite from door and on front wall over couch.
Small opening windows at peak in both ends and in bathroom.
Gutters to collect rain water

Power:
12 volt electrical system wired in walls with solar panels and batteries.
12 volt LED ceiling lights controlled with wall switches
12 volt water pump for kitchen sink; fresh water tank under sink or in loft
12 volt ceiling fan in living room
12 volt bathroom exhaust fan.
Only 2 AC outlets in kitchen and living area to run infrequently off generator.

Sunday, September 23, 2012

Roof is now watertight

I finished shingling the roof this weekend, except for the top cap of shingles at the peak - I ran out of shingles. It rained last night and it was perfectly dry inside the shed. No more having to wrestle with tarps to cover the roof. If I had to do the roof over again, I would build some staging on the side so I don't have to climb up and down ladders so much. When the ladders were close enough, I would climb half way down and then step over to the next ladder and climb back up. Not the safest way but kind of fun!


For the top rows of shingles, I put the spreader bar on my big ladder and set it up at a 45 degree angle. I attached a line to the bottom rung so the ladder didn't kick out at the bottom. This made me feel much more secure working at the peak.


At one point I had to climb up through my Dawn Redwood tree to get on the roof!


Another view of my tiny house in my forest of 4 redwood trees. (I planted them 6 years ago as 18 inch bare root saplings and they are already about 12 feet tall!)


I'll look for some white, 3 tab shingles at HD this week. I plan to cut them in thirds and use them for the cap shingles at the peak. Then it is on to the corner trim boards.