Sorry, no pictures this week. I spent today applying the finish coat of exterior paint. I now have finished painting half of the exterior. I was delayed by a day, due to the heavy rains we had on Friday night. The good news is that the inside of my shed was bone dry after the rains. It looks like I did a good job on the roof!
I also bought a water tight exterior box to get power into my shed. The box will house a male plug; the wire will run through the wall to an outlet inside. I can then run an extension cord to the outside of my shed without having to leave the door ajar and let in the cold or rain.
I've been thinking of what it would take and how to go about building a prefab Sonoma Shanty. The idea would be to build the walls and roof in sections at home in my garage and then move them to the job site in a U-Haul truck. The walls and roof panels could be built on the floor inside a sheltered area, squared and exterior sheathing applied. A few inches of sheathing would extend beyond the edge, on one side of the panel to overlap the next panel. Windows would also be installed in the walls as they are being sheathed on the garage floor. I would have to figure out how wide and tall to make the walls, and still have them fit inside a rental truck, as well as being light enough for 2 men to carry. Having built the roof panels already for my SS shed, I know they are light enough in weight. The plan would be to install the footings, foundation beams and build the platform on site ahead of time. The platform would be insulated and covered with a tarp until the walls arrive. Then the rental truck would carry the walls and roof panels to the site. 2 men should be able to assemble the walls and roof panels over a 3 day weekend. Timber lock screws and battery powered drills would make quick work of assembling the walls and roof. The building would be wrapped in tar paper until the roofing and exterior siding could be applied. The walls and roof could be insulated and the interior finish applied as time permits on site.This structure could be used as a tiny house itself or as a storage shed for a tiny house or during the construction of a larger cabin.
Sunday, October 21, 2012
Tuesday, October 16, 2012
Outside primed and broken window
Last Saturday, I nailed up the rest of the corner trim and finished priming the outside of my shed. It is starting to look more like a tiny house instead of a weathered shack!

When I went inside my shed Saturday morning, I was greeted with a cracked window. The crack was on the inside pane of glass; the outside pane was intact. The sash moves freely so it wasn't any settling that caused the crack. We had our first frost the night before, but the temperature inside the shed should not have gotten that low. I was bummed out. I'll have to contact Lowes about their warranty on windows. The sash is removable which is a good thing; I don't want to have to rip out the whole window.

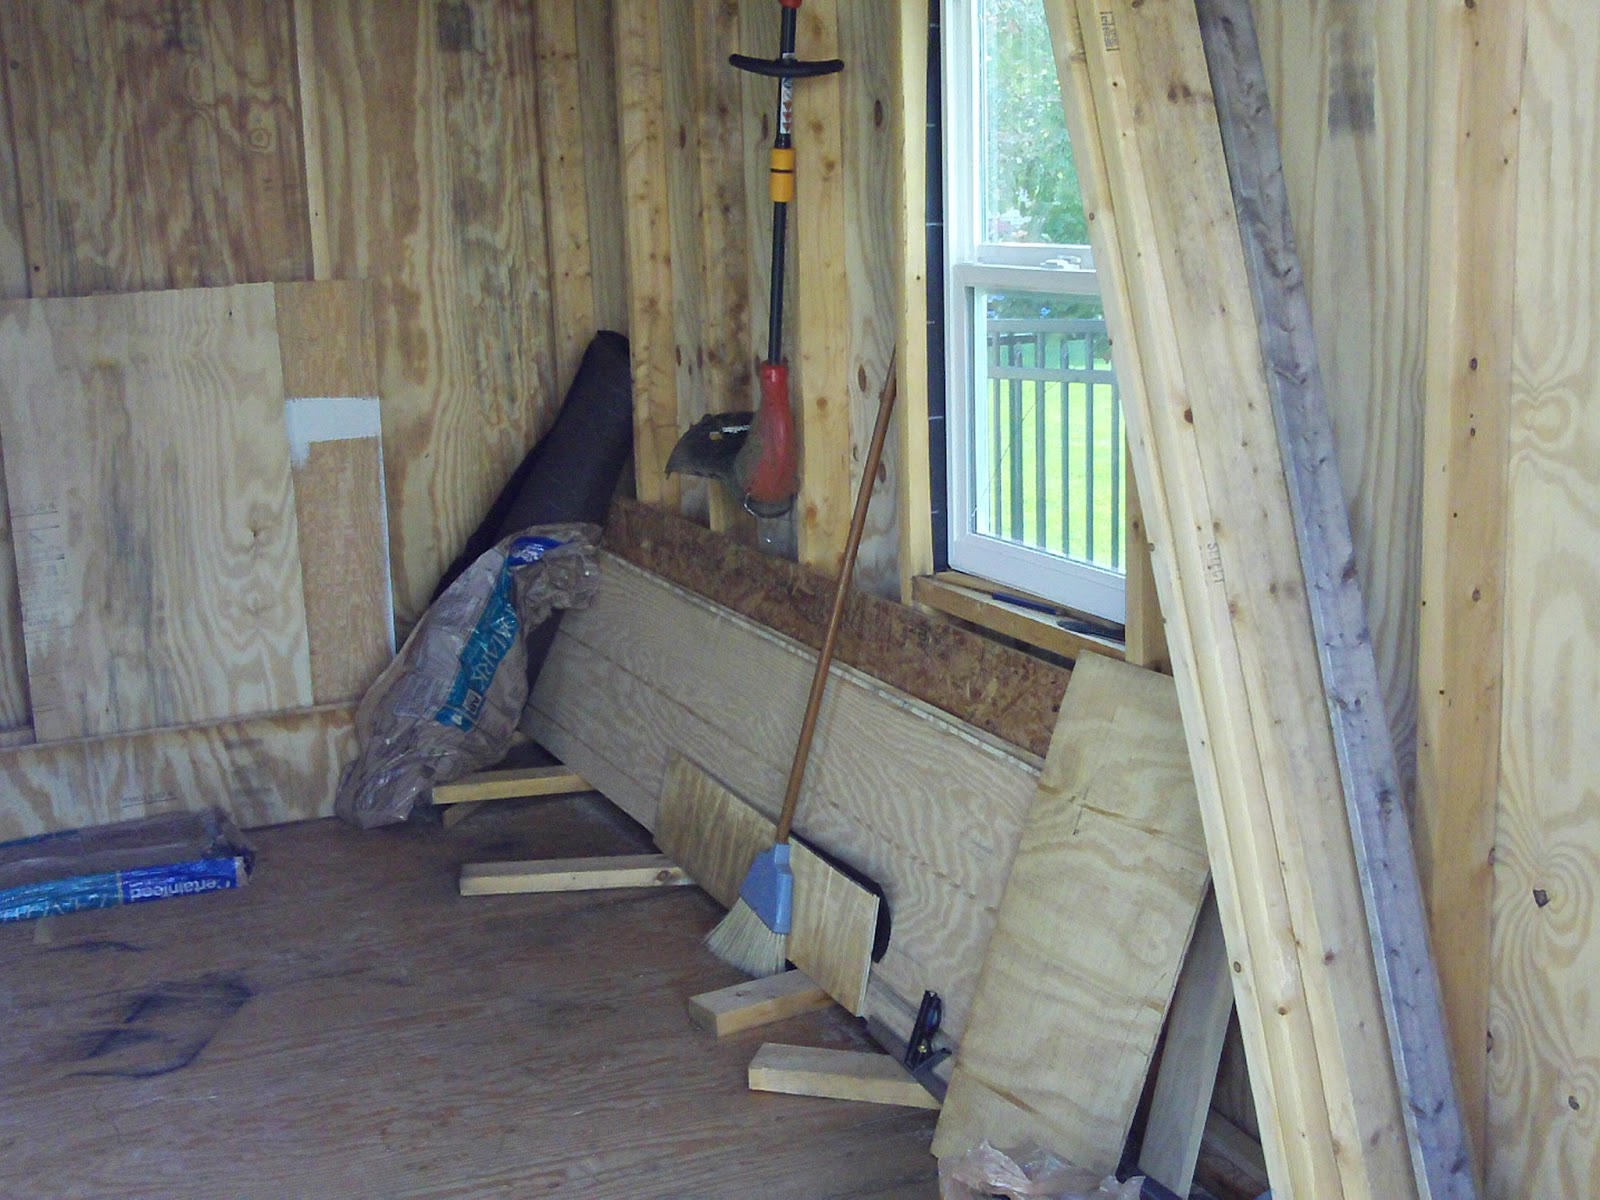
With the trim on, I'm done with my table saw so I moved it back into the garage to free up space in the shed. Here is an interior view from the front door.

...and from the back wall.

For the next few weekends, whenever the weather is good, I will be painting the exterior with the finish coat of paint. After that I want to reposition my big loft into two smaller ones, one over the back wall and one across the middle of the shed, for easier access to the space. With the high roof, there is a lot of storage space up there!

When I went inside my shed Saturday morning, I was greeted with a cracked window. The crack was on the inside pane of glass; the outside pane was intact. The sash moves freely so it wasn't any settling that caused the crack. We had our first frost the night before, but the temperature inside the shed should not have gotten that low. I was bummed out. I'll have to contact Lowes about their warranty on windows. The sash is removable which is a good thing; I don't want to have to rip out the whole window.

With the trim on, I'm done with my table saw so I moved it back into the garage to free up space in the shed. Here is an interior view from the front door.
...and from the back wall.

For the next few weekends, whenever the weather is good, I will be painting the exterior with the finish coat of paint. After that I want to reposition my big loft into two smaller ones, one over the back wall and one across the middle of the shed, for easier access to the space. With the high roof, there is a lot of storage space up there!
Sunday, October 7, 2012
Corner trim
Not a lot of activity to report this week, either. We have had a lot of rain and I was busy yesterday with my fall garden. I started applying the 1 x 4 pine trim on the exterior corners. First I put overlapping layers of tar paper on the corner, in case water gets behind the trim.

Then I cut the trim to match the 45 degree slope of the roof and nailed it over the tar paper. This should make for a moisture proof joint.

I also put some tar paper and a strip of siding under the door. There are a couple of drain holes on each side of the door and without siding there, the rain would splash up under the door. This should take care of that problem. Now I just need some dry weather next weekend, so I can finish applying the primer coat to my SS shed.

The weather is getting cooler now, so I have been keeping the door closed when working inside my shed. I have a lamp inside with a 75 watt bulb. It is amazing how much just that lamp warms up the inside of my shed.
In other news, Macy Miller has put together an extensive list of questions for tiny house builders and is publishing the results as FAQs on her site. There is a wealth of information there. I have linked to her Tiny Housers FAQ page at the top right of this blog.
Subscribe to:
Comments (Atom)